
Last updated October 8, 2026
Free written scope consultation - allowances, timeline, and change-order rules on paper before a single trade is scheduled







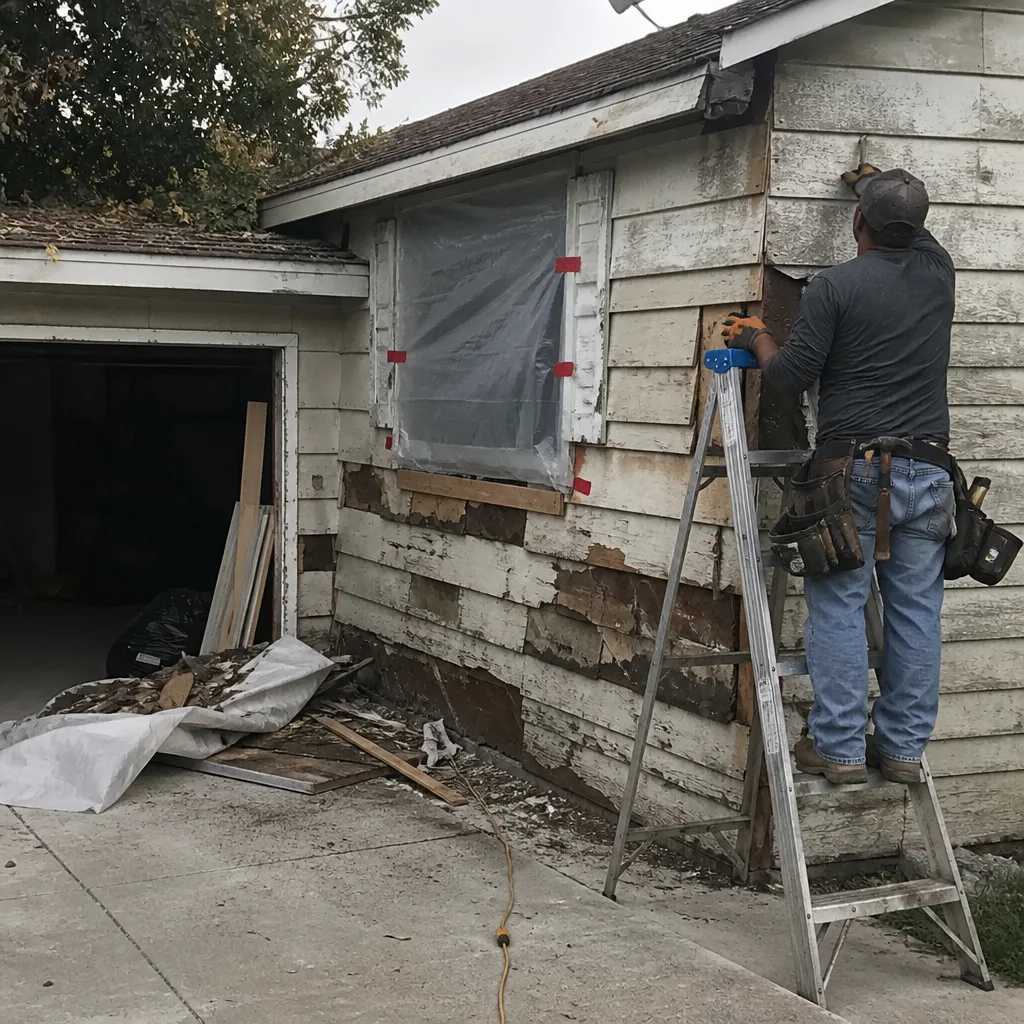 Before
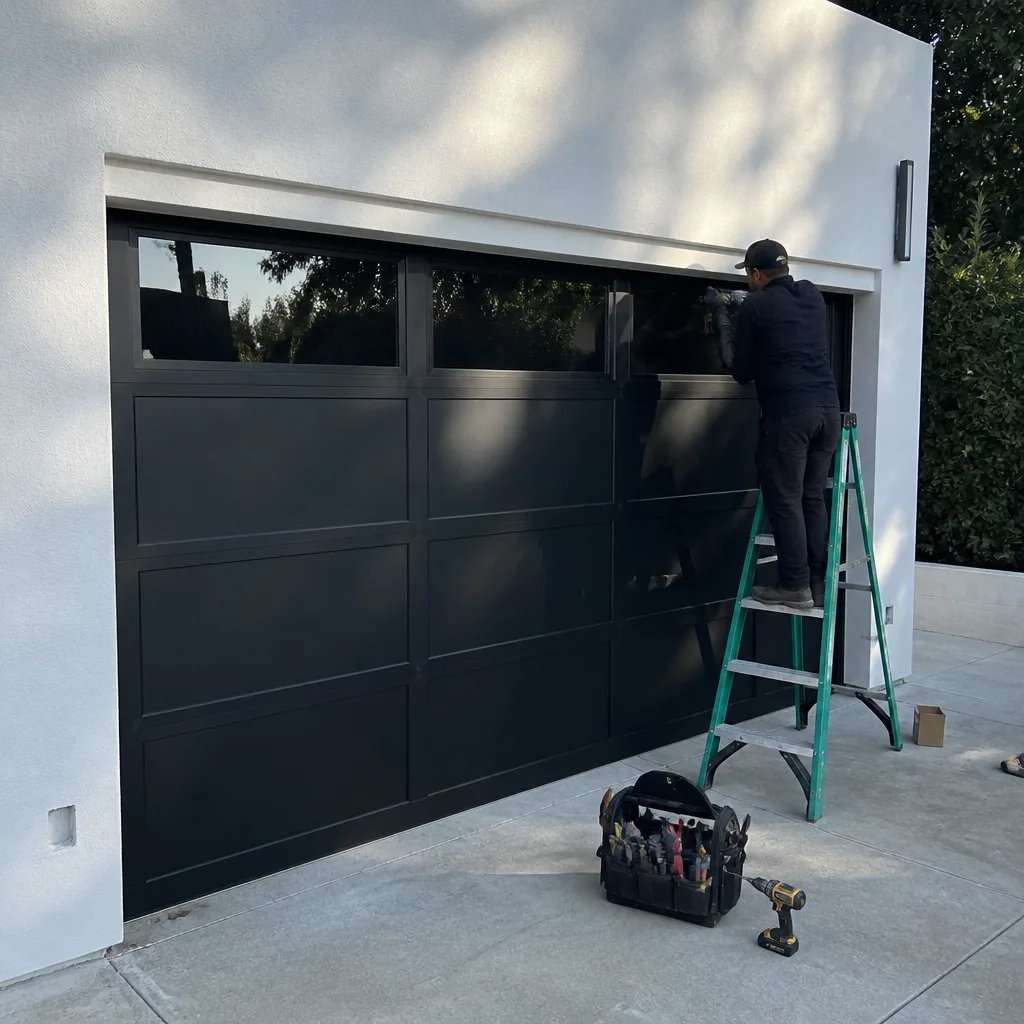 After
After Before
 After
After Before
 After
AfterKitchen Remodeling Maintenance Schedule: What to Do and When
Most homeowners in Los Angeles spend $25,000 to $60,000 on a kitchen remodel and then receive zero documentation on how to keep it from falling apart. The warranty on your new cabinet finish is typically five years, but it’s voided the moment you wipe it down with the wrong cleaner, a fact buried in a spec sheet you were probably never handed. This guide gives you a plain-language maintenance calendar tied to what was actually installed in your kitchen: the countertops, the grout, the cabinet hardware, the appliances. It tells you what to do at 30 days, 6 months, 1 year, and 3 years, what you can safely handle yourself, and which jobs need a professional before you accidentally void a warranty.
Quick Answer
Kitchen remodeling maintenance breaks down into four checkpoints: at 30 days you do a full inspection and address any installation settling; at 6 months you seal or reseal natural stone and check every piece of hardware; at 1 year you deep-clean grout, re-caulk if needed, and service appliances; at 3 years you assess caulk, grout, and finish wear and plan for resealing. Most tasks are DIY-safe with the right products, but sealing certain natural stones and adjusting cabinet boxes should be handled by a pro offering Kitchen Remodeling services to avoid voiding warranties.
Table of Contents
- Why Maintenance Actually Matters in Los Angeles
- The 30-Day Checklist: What to Inspect After the Crew Leaves
- The 6-Month Checkpoint: Sealing, Hardware, and Hidden Wear
- The 1-Year Maintenance Cycle: Deep Clean and Re-Caulk
- The 3-Year Assessment: What to Reseal, Replace, and Reconsider
- DIY-Safe vs. Pro-Only: Where the Line Is
- Documenting Your Remodel So Repairs Never Become Guessing Games
- The Cleaning Products That Void Warranties by Material Type
- What a 365-Day Workmanship Guarantee Actually Covers
- Common Mistakes to Avoid
- When to Call a Professional
- Frequently Asked Questions
- The Bottom Line
Why Maintenance Actually Matters in Los Angeles
Los Angeles is not a gentle place for a remodeled kitchen. We get months of dry heat that pull moisture out of wood, then a damp winter that pushes it back in, then wildfire smoke that settles into every soft surface, including cabinet interiors and grout lines. Add hard water from the municipal supply, and you have a formula for cabinet doors that warp at the hinge, grout that darkens unevenly, and countertop sealant that breaks down faster than the manufacturer’s timeline suggests. In our experience in Los Angeles remodeling, kitchens here need slightly more attention than the national average: resealing natural stone at the 10-month mark instead of 12, re-caulking around sinks at 8 months instead of 12, and checking cabinet hardware twice a year because the dry air loosens screws faster than coastal humidity would.
Here is the good news: every one of these problems is preventable with a schedule. Not a vague “check things when you notice them” schedule, but a specific calendar tied to what was installed. Your kitchen has roughly 200 individual components, from the cabinet hinges to the caulk bead around the sink, and each one has its own maintenance timeline. The schedule below is organized by what actually matters, not by what looks good in a brochure, and you can find more guides & resources on keeping your kitchen in top shape.
The 30-Day Checklist: What to Inspect After the Crew Leaves
The first month after a kitchen remodel is when installation issues show themselves. Materials settle. Adhesives fully cure. Wood adjusts to your home’s humidity. Here is what to look at during week four, not before, because you want everything to have had time to reach its final state.
- Cabinet doors and drawers: Open and close every single one. Listen for rubbing, check for gaps where doors meet the frame, and test that soft-close mechanisms actually catch. Minor adjustments are normal in the first month; a door that no longer closes flush is not.
- Countertop seams: Run your finger along every seam where two slabs meet. A good seam is nearly invisible and completely smooth. If you feel a lip or the seam has widened, that is a sign the slab shifted during curing.
- Grout lines: Check for cracks, pinholes, or areas where grout has pulled away from the tile edge. Hairline cracks in the first 30 days usually mean the subfloor flexed or the grout was mixed too dry.
- Caulk beads: Look at every caulked joint: sink to counter, counter to backsplash, backsplash to wall. The caulk should be continuous with no gaps, bubbles, or shrinking. If you see a crack, water is getting behind it.
- Plumbing connections: Run the sink, run the dishwasher, and check underneath for any sign of moisture. A slow drip may not show up until the connection has cycled hot and cold a few dozen times.
- Finish quality: Look at painted or stained surfaces under bright light. Check for drips, thin spots, or areas where the finish looks duller than the rest. These are signs of an uneven application that will show wear faster.
Any issues you find in this 30-day window should be documented and reported to your contractor immediately. Most installers, including Penhallow Remodeling, consider this the “settling period” and will make adjustments at no charge. After 30 days, distinguishing between an installation issue and normal wear becomes harder, so write down what you see with photos and dates.
The 6-Month Checkpoint: Sealing, Hardware, and Hidden Wear
Six months is when your kitchen stops being “new” and starts being “yours.” It is also when small problems become visible if you look. Set aside one hour on a weekend and go through this list.
Natural Stone Sealing
If you installed natural stone countertops, granite, marble, or quartzite, they need resealing on a regular schedule. In Los Angeles, where hard water is common and citrus juice is part of daily cooking, we recommend sealing granite and quartzite every 6 to 12 months. Marble, which is more porous, needs it every 6 months. Use a water-based, penetrating sealer that is labeled safe for food-prep surfaces. If water no longer beads on the surface, that is your cue: the sealer has worn through.
Engineered quartz countertops, including the Cambria and Caesarstone lines we install in Los Angeles, do not need sealing. They are non-porous by design. Wiping them with a soft cloth and a pH-neutral cleaner is all the maintenance they require.
Cabinet Hardware
Every hinge, knob, and drawer slide should be checked for tightness. Use a screwdriver, not a drill, and snug up any screw that has backed out. This is a five-minute task that prevents a door from sagging and permanently wearing the hinge plate. If a hinge is stripped or the screw no longer bites, replace the screw with a slightly longer one or add a toothpick and wood glue to rebuild the hole.
Under-Sink Inspection
Take everything out of the under-sink cabinet and run your hand along the cabinet floor. Check for dampness, warping, or the telltale smell of mildew. Check the P-trap connections and the water supply lines. If you see any white crust around a connection, that is a slow leak that has been evaporating. Tighten the fitting or call a plumber.
The 1-Year Maintenance Cycle: Deep Clean and Re-Caulk
The one-year mark is your first full maintenance cycle, and it is where most Los Angeles kitchens start to show visible wear if nothing has been done. This is a half-day job if you do it right.
Grout Deep Clean
Grout is porous, even when sealed, and a year of cooking oil, coffee splashes, and hard water minerals will leave it looking tired. Start with a pH-neutral grout cleaner and a stiff nylon brush. Work in small sections and rinse thoroughly. After the grout dries, assess whether it needs resealing: sprinkle a few drops of water on a grout line. If the water soaks in and darkens the grout, it needs a fresh coat of penetrating grout sealer. In Los Angeles kitchens where the backsplash sees daily cooking, sealing grout once a year prevents the kind of deep staining that requires regrouting later.
Re-Caulk the High-Wear Joints
Caulk around the sink, the cooktop if it is a drop-in, and the base of the backsplash where it meets the counter. Cut out the old caulk cleanly with a utility knife, clean the joint with denatured alcohol, let it dry completely, and apply a fresh bead of 100% silicone caulk labeled for kitchen and bath use. Do not use acrylic caulk in any joint that gets wet or sees temperature swings; it will fail in months, not years.
Appliance Service
Run a cleaning cycle on your dishwasher and washing machine if you have one in the kitchen. Check the refrigerator door seals by closing the door on a dollar bill; if the bill slides out easily, the seal is losing grip and the appliance is wasting energy. Vacuum the condenser coils behind or below the refrigerator. Check the range hood filters and either wash them or replace them depending on the type.
For any of this work that involves gas connections, the range, the oven, the water heater, leave it alone and call a licensed professional. Gas lines are not a DIY project, and a bad connection is a safety hazard, not a maintenance item.
The 3-Year Assessment: What to Reseal, Replace, and Reconsider
At the three-year mark, your kitchen has been through roughly 1,000 days of use. Some materials are designed to last 20 years with proper care. Others are considered wear items and are due for replacement or professional attention.
Caulk: Full Replacement
Even high-quality silicone caulk degrades over time, especially in Los Angeles window kitchens where UV light hits the sink area. By year three, every caulked joint in the kitchen should be cut out and replaced, not just the visible ones. This includes the joint between the counter and the wall, around the sink, around the cooktop, and any joints in the backsplash. A full re-caulk of a standard L-shaped kitchen takes about two hours and costs $30 to $60 in materials if you do it yourself.
Cabinet Finish Assessment
Look at the high-touch zones: the edges of doors near handles, the face frames around the sink, the toe kicks. If the finish is worn through in spots, do not sand and refinish the area yourself unless you know exactly what finish was used. Cabinet finishes from KraftMaid and Wellborn, two lines we install in Los Angeles, have specific touch-up kits matched to their finish codes. Using the wrong product will make the wear more visible, not less.
Hardware Replacement
Hinges and drawer slides that have been adjusted repeatedly may be reaching the end of their useful life. If a door sags no matter how much you tighten the hinge, replace the hinge itself. The same goes for soft-close mechanisms that no longer catch. These are inexpensive parts; the labor to replace them is minimal if you catch them before they damage the cabinet box.
Natural Stone Professional Assessment
If you have marble countertops that have etched, which is visible as dull spots where acid touched the surface, this is the time to bring in a stone restoration professional for honing and re-polishing. Do not attempt this yourself. Stone restoration requires diamond abrasives and a level of skill that makes the DIY version a fast way to make the etching worse.
DIY-Safe vs. Pro-Only: Where the Line Is
The phrase “just watch a YouTube video” has voided more warranties than any cleaning product. Here is the honest breakdown.
DIY-Safe Tasks
- Tightening cabinet hardware, hinges, knobs, and drawer slides
- Cleaning grout with a pH-neutral cleaner and a nylon brush
- Re-caulking joints around sinks, cooktops, and backsplashes
- Sealing granite countertops with a water-based penetrating sealer
- Cleaning stainless steel with a dedicated stainless cleaner and microfiber cloth
- Checking under-sink plumbing for leaks and tightening supply connections by hand
Pro-Only Tasks
- Adjusting cabinet boxes that have shifted out of square
- Sealing or honing marble countertops
- Regrouting large areas or repairing cracked grout lines that indicate movement
- Any repair to gas lines or gas appliances
- Electrical work beyond changing a light bulb
- Countertop seam repair or re-leveling
- Refinishing or repairing cabinet finishes beyond a touch-up kit
The reason we draw this line is not to protect the trade. It is to protect your warranty. A cabinet manufacturer’s warranty, for instance, is voided if the cabinet box is modified by anyone other than an authorized installer. A stone fabricator’s warranty will not cover etching that happens because a homeowner used a vinegar-based cleaner on marble, which is one of the Kitchen Remodeling Warning Signs Every Homeowner Should Know to watch for. Knowing which line you are standing on when you pick up a tool matters more than the tool itself.
Documenting Your Remodel So Repairs Never Become Guessing Games
The most valuable document from your kitchen remodel is the one most homeowners never receive: a complete material list. Without it, matching a drawer front in five years means holding a dismounted door up to every paint chip at the hardware store and hoping for the best. Here is what to keep.
- Cabinet manufacturer, line, finish name, and finish code: This is stamped inside the drawer box or on the hinge-side of the door. KraftMaid and Wellborn both print this information on a label. Photograph it before you install anything in the cabinets.
- Countertop material, color name, and lot number: Natural stone varies from lot to lot. Quartz color names are registered. If you ever need a replacement piece, the lot number is the only way to match it.
- Paint brand, sheen, and color code: Write it in permanent marker on the inside of a cabinet door. Paint labels fade; Sharpie on a hidden surface does not.
- Tile and grout details: Manufacturer, tile size, color, and the grout color formula. Keep a spare tile or two if any were left over; a cracked tile in three years is a 20-minute repair if you have a matching piece, and a full re-tile of that section if you do not.
- Faucet and fixture models: Kohler, Moen, Delta, and Grohe all carry multi-year warranties, but you need the model number to make a claim. It is on the original box, the instruction manual, or sometimes stamped on the fixture body.
- Appliance models and serial numbers: Photograph the data plates on every appliance and save the photos to a folder in your phone.
- Contractor scope of work and warranty: Keep a copy of the written scope, the written price, and the written guarantee. If anything fails, you have the paper trail that says what was promised.
At Penhallow Remodeling, we hand every Los Angeles client a complete material list at the end of the project because we know the value of it. If you did not receive one from your contractor, it is worth a phone call to ask. Most reputable companies keep this in their project file and can send a copy.
The Cleaning Products That Void Warranties by Material Type
The wrong cleaner will undo a $5,000 countertop faster than ten years of normal use. Here is the truth, organized by material.
Natural Stone (Granite, Marble, Quartzite)
Anything acidic is off-limits. Vinegar, lemon juice, ammonia, and bleach all etch natural stone, especially marble, by dissolving the calcium carbonate at the surface. Even products labeled “natural” or “eco-friendly” are often acid-based. Use only pH-neutral stone cleaners or a few drops of mild dish soap in warm water. Rinse with clean water and dry with a microfiber cloth. Applying a penetrating sealer every 6 to 12 months, as covered above, is the other half of keeping natural stone from staining.
Engineered Quartz (Cambria, Silestone, Caesarstone)
Quartz is non-porous and acid-resistant, but it is not heat-proof or scratch-proof. Do not use abrasive cleaners, scouring pads, or anything with bleach. Do not set a hot pan directly on the surface; the resin in quartz can scorch and the damage is not repairable. A soft cloth, warm water, and a mild pH-neutral cleaner is the entire maintenance routine.
Wood Cabinets with Factory Finishes
The fastest way to void a cabinet finish warranty is to clean it with anything containing silicone, wax, or ammonia. Silicone builds up a film that cannot be removed without stripping the finish. Wax attracts dirt and makes the surface sticky. Ammonia dulls the clear coat. Use a damp cloth with a drop of mild dish soap, then dry immediately. For painted or stained cabinets from KraftMaid and Wellborn, follow the care instructions that came with the documentation; if you do not have them, the manufacturer publishes care guides online.
Stainless Steel Appliances
Stainless steel has a clear coat on most modern appliances, and chlorine bleach or abrasive cleaners will strip it. Use a dedicated stainless steel cleaner, applied with the grain, and a soft microfiber cloth. If you see rust spots, they are usually from iron particles in the water or from a steel wool pad, not from the appliance itself. A stainless steel cleaner removes them in most cases.
Tile and Grout
Abrasive powders and acid-based tile cleaners remove grout sealer and can etch glazed tile. Use a pH-neutral tile and grout cleaner. Steam cleaning is safe for porcelain tile but should not be used on natural stone tile, as the thermal shock can crack the surface.
What a 365-Day Workmanship Guarantee Actually Covers
Most Los Angeles homeowners never read their remodel warranty until something breaks, and by then they are surprised by what it does and does not cover. Here is the distinction that matters.
A workmanship guarantee, including the 365-Day Done Right Promise that has been part of The Kingswell Way since 2004, covers defects in the installation itself. That means: a cabinet door that was hung wrong, a countertop seam that opens, a tile that pops because the adhesive failed, a faucet that leaks because the connection was not tight, a caulk bead that fails because the surface was not prepped. If the installation is the problem, the contractor returns and fixes it at no charge during the guarantee period.
What a workmanship guarantee does not cover is the normal wear and maintenance that every kitchen demands. A grout line that stains because it was never sealed is not a workmanship issue. A marble countertop that etches because someone cleaned it with vinegar for a year is not a workmanship issue. A cabinet door that sags because the hinge screws backed out and were never tightened is not a workmanship issue. These are maintenance items, and they are the homeowner’s responsibility.
The line between the two is usually easy to see. If a problem appears in the first year and the cause is the installation, that is the contractor’s fix. If a problem appears because a maintenance step was skipped, that is the homeowner’s fix. At Penhallow Remodeling, we put the guarantee in writing on every project, and we are glad to walk a homeowner through which side of the line a particular issue falls on. The important thing is to document what you see and call before you attempt a repair that might make the original issue harder to diagnose.
Common Mistakes to Avoid
- Cleaning natural stone with vinegar or lemon juice: Acidic cleaners etch the surface, and the damage is permanent. Marble is the most vulnerable; granite is not far behind. Use only pH-neutral stone cleaners.
- Skipping the grout sealer: Unsealed grout absorbs cooking oil, coffee, and hard water minerals from the Los Angeles supply. Once the staining is deep, the only fix is regrouting, which costs far more than a $20 bottle of sealer every year.
- Tightening cabinet hinges with a drill: A drill set too high strips the wood and leaves you with a hinge that will never hold again. Hand-tighten with a screwdriver, and stop when the screw is snug.
- Putting off a small caulk crack: A cracked caulk bead lets water behind the counter and into the cabinet box. What starts as a $12 tube of caulk becomes a swollen cabinet frame if ignored for six months.
- Guessing at a repair paint finish: Patching a painted cabinet with a close-enough color looks worse than the scratch it was meant to fix. Use the manufacturer’s touch-up kit matched to the finish code, or leave the repair to a professional.
- Setting hot pans on engineered quartz: Quartz is resistant to acid and stains but not to direct heat. The resin can scorch, and there is no repair that makes it invisible. A trivet costs $8; a countertop replacement costs thousands.
- Throwing away the material list: Without the cabinet finish code, paint color, and countertop lot number, even a small repair becomes a materials hunt. Photograph every label before you install anything in the cabinets.
When to Call a Professional
Some maintenance tasks are straightforward; some are a fast route to a voided warranty or a damaged kitchen, as detailed in our Kitchen Remodeling Troubleshooting: Common Problems and How to Fix Them. If you notice a countertop seam that has opened or shifted, if a cabinet box is pulling away from the wall, if grout lines are cracking repeatedly in the same spot, or if you smell gas anywhere near the range, stop and call someone who does this work daily. The cost of a service call is always less than the cost of redoing a botched repair.
Penhallow Remodeling offers free estimates for bathroom and kitchen remodeling in Los Angeles, including maintenance assessments on kitchens we did not originally install. Call (936) 259-2607 and a real person will answer, any hour, no voicemail maze.
Frequently Asked Questions
In Los Angeles, granite and quartzite countertops should be sealed every 6 to 12 months depending on use, and marble every 6 months. The test is simple: sprinkle a few drops of water on the surface. If it beads, the sealer is working; if it soaks in, it is time to reseal. Call (936) 259-2607 if you want a professional assessment rather than guessing.
Grout sealing is the most commonly skipped task, and it is the one that causes the most visible damage. Unsealed grout absorbs oils, coffee, and hard water minerals, and once the staining sets, the only real fix is regrouting. A bottle of penetrating grout sealer costs under $20 and takes about 20 minutes to apply to a standard backsplash.
No. Engineered quartz from manufacturers like Cambria, Silestone, and Caesarstone is non-porous and never needs sealing. The only maintenance required is wiping with a soft cloth, warm water, and a mild pH-neutral cleaner. Avoid abrasive pads and bleach, and never set a hot pan directly on the surface.
A 365-day workmanship guarantee covers defects in the installation: seams that open, tiles that pop, hinges that were hung incorrectly, faucets that leak because the connection was wrong. It does not cover normal wear or damage from skipped maintenance. If the installation is the problem, the contractor fixes it at no charge; if the maintenance was skipped, the repair is on the homeowner.
Yes, re-caulking the sink joint is a DIY-safe task if you use 100% silicone caulk labeled for kitchen and bath use, clean the joint thoroughly before applying, and let it cure for 24 hours before running water. Watch for a continuous bead with no gaps or bubbles. If the old caulk is deeply embedded or the joint is uneven, a pro will get a cleaner result.
Document the cabinet manufacturer, line, finish name, and finish code; the countertop material, color name, and lot number; paint brand, sheen, and color code; tile and grout details; faucet and fixture models; appliance serial numbers; and the contractor’s scope of work and written guarantee. Photograph every label and store the images in a folder on your phone so you can match materials years later without guessing.
The Bottom Line
A kitchen remodel is a $25,000 to $60,000 investment, and it does not maintain itself. Thirty days of inspection, six months of sealing and hardware checks, one year of deep cleaning and re-caulking, and three years of full assessment: that is the schedule that keeps a Los Angeles kitchen looking like the day it was finished. Most of it is doable on a weekend with $50 in supplies. The rest is knowing when to call someone who does this work every day, before a small problem becomes a warranty dispute, a replacement countertop, or both.
Written by Trevor Nash, Owner at Penhallow Remodeling, serving Los Angeles since 2004.