
Last updated October 8, 2026
Free written scope consultation - allowances, timeline, and change-order rules on paper before a single trade is scheduled







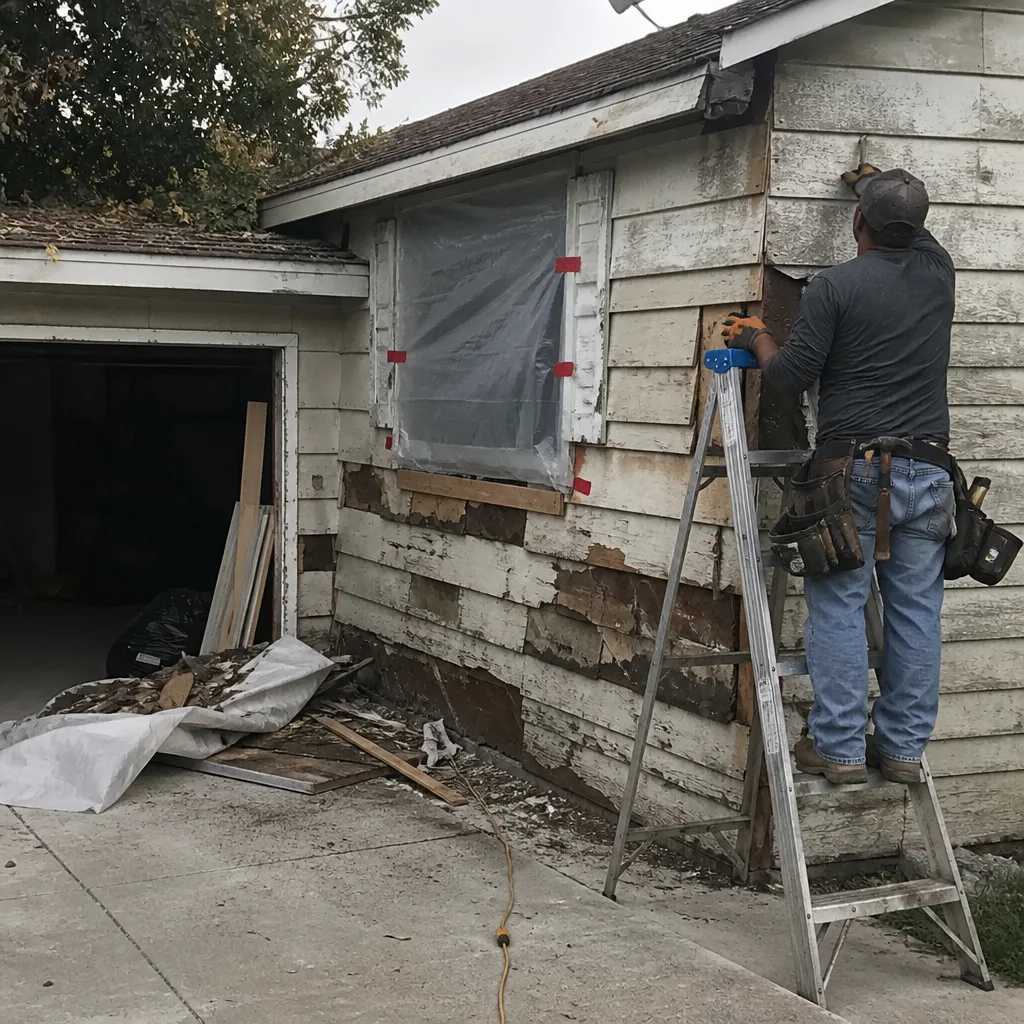 Before
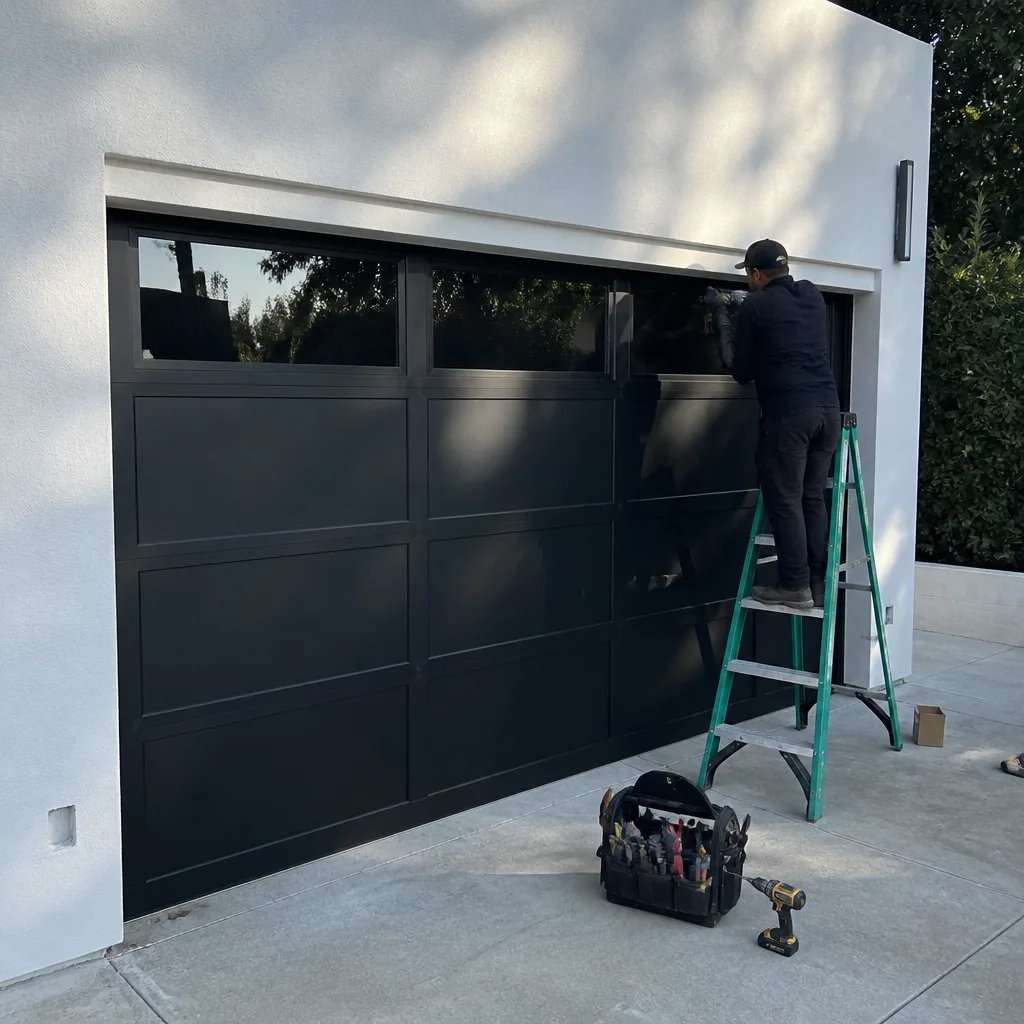 After
After Before
 After
After Before
 After
AfterBathroom Remodeling Maintenance Schedule: What to Do and When
Caulk at a tub-to-tile joint has a service life of roughly 3 to 5 years in a regularly used shower. A failed caulk joint that goes unaddressed for one season can drive water damage that costs more to fix than the original tile installation. That single fact explains why Bathroom Remodeling Warning Signs Every Homeowner Should Know matter, and why the homeowners who protect their investment treat it as an asset with a maintenance calendar. In Los Angeles, where hard water accelerates mineral buildup and homes often sit on older plumbing infrastructure, the schedule matters even more. This guide lays out exactly what to do in the first 30 days, what to check twice a year, and what to address in years three and five, so your remodeled bathroom stays watertight and looks new for decades.
Quick Answer
A remodeled bathroom needs a 30-day post-install inspection for grout, caulk, and fixture connections, then semi-annual cleaning of glass and chrome to control Los Angeles hard-water mineral buildup, an annual check of all caulk and grout lines, and re-sealing of stone or cement tile every 12 to 24 months. For professional help, see our Bathroom Remodeling services. Caulk replacement is typically due every 3 to 5 years, and shower valve cartridges or toilet flappers usually need attention around year five. The entire schedule can be handled with about two hours of work twice a year.
Table of Contents
- The First 30 Days: Your Post-Install Checklist
- Semi-Annual Tasks: The Six-Month Rhythm
- Annual Maintenance by Surface Type
- Los Angeles Hard Water: What It Does and How to Fight It
- How to Re-Seal Caulk and Grout Correctly
- Years Three, Five, and Beyond: The Long Game
- Keeping a Maintenance Log That Protects Your Warranty
- Common Mistakes to Avoid
- When to Call a Professional
- Frequently Asked Questions
- The Bottom Line
The First 30 Days: Your Post-Install Checklist
The first month after a bathroom remodel is when most installation defects reveal themselves. Grout shrinks as it cures. Caulk pulls away from the tub edge as the house settles and temperature swings flex the joint. A supply line that was seated slightly wrong on day one will drip by week three. During this window, your contractor’s workmanship guarantee is fully active, and catching a problem now means a quick fix rather than a dispute later. At Penhallow Remodeling home, our own 365-Day Done Right Promise covers exactly this kind of early failure at no charge, and it is written into every project we complete.
Here is the 30-day checklist we give every homeowner after a remodel:
- Inspect every grout line with a flashlight at a low angle. Look for hairline cracks, pinholes, or spots where grout has pulled away from tile edges. These are the first places water starts getting behind your tile.
- Run your fingernail along every caulk joint. The caulk should feel rubbery and fully adhered. If it lifts, peels, or shows gaps at the tub, shower pan, or countertop backsplash, flag it immediately.
- Check all shutoff valves under the vanity and behind the toilet. Turn each one a quarter turn closed and back open to confirm it moves freely and does not seep at the stem. A stuck valve is a five-minute fix now and an emergency later.
- Run the shower for ten minutes with the drain stopped. Let water stand, then release it. Watch the ceiling below the bathroom if there is one. Slow drips that only appear under full head pressure often show up here first.
- Look at the toilet base for moisture or a waxy smell. A toilet that rocks slightly or shows condensation at the floor flange needs a re-set before the ring seal fails.
In our experience across Los Angeles, the most common early-defect call we get is a caulk joint at the tub-to-tile transition that separated within the first month. It is almost always a simple re-caulk, and it is free under our guarantee. The second most common is a slightly loose escutcheon plate behind a shower handle, which we tighten in less than ten minutes. Neither is a sign of a bad remodel. Both are a sign that you should look.
For bathroom remodels completed by any General Contractor in Los Angeles, the 30-day inspection is your most powerful warranty tool. Document what you see. Take photos. Send them to your contractor the same day. In a written-guarantee company like ours, those photos become the work order. In a verbal-promise company, they become your only leverage.
Semi-Annual Tasks: The Six-Month Rhythm
Twice a year, your bathroom needs about an hour of targeted attention. The goal at this interval is to remove what Los Angeles water and daily use are slowly depositing on every surface, and to catch small problems before they become structural ones. We recommend doing this once in spring and once in fall, when outdoor temperatures are moderate and you can open a window for ventilation.
What to do every six months:
- Deep-clean grout lines with a pH-neutral cleaner. Avoid acidic cleaners like vinegar on cement-based grout. Acid etches the grout surface, making it more porous and more likely to absorb water and soap scum. We use a nylon bristle brush and a cleaner labeled specifically for grout.
- Clean glass shower doors with a non-abrasive cream cleanser or a dedicated glass product. In Los Angeles, hard-water spots build into a haze within eight to ten weeks. If you wait six months, the spots are mineralized and require a razor scraper or a professional restoration.
- Remove and clean aerators on every faucet. Mineral scale collects inside the aerator screen and reduces water pressure. Unscrew it, soak it in white vinegar for an hour, scrub it with an old toothbrush, and reinstall.
- Check the showerhead for uneven spray. If individual nozzles are clogged, the spray pattern goes crooked and pressure drops. Most removable showerheads can be soaked whole. Fixed heads may need a plastic bag of vinegar tied over the face for an hour.
- Test the GFCI outlet. Press the test button on any outlet within six feet of the sink or tub. It should trip and reset. A GFCI that does not trip is no longer protecting you from ground faults and should be replaced.
- Inspect the grout in the shower corner joints. Corners should be caulked, not grouted. If grout was used in corners and it is now cracking, that is the building flexing. The fix is to scrape out the grout and replace it with a flexible silicone caulk.
For fixtures from brands like Kohler and Moen, which we install regularly in Los Angeles bathrooms, the manufacturer warranties assume basic upkeep. A Kohler showerhead that was never descaled will clog and underperform inside a few years, and neither the brand warranty nor our workmanship guarantee is designed to cover neglect. Six months of buildup is cleanable. Three years of buildup is often a replacement.
Annual Maintenance by Surface Type
Once a year, the maintenance differs based on what your bathroom is made of. Porcelain tile, natural stone, cement tile, and glass all respond differently to water, cleaners, and time. Treating them the same is how homeowners accidentally shorten the life of their remodel.
Porcelain and Ceramic Tile
Porcelain is the most forgiving surface in a Los Angeles bathroom. It is nearly waterproof, highly scratch-resistant, and does not stain. Annual maintenance is light: inspect the grout, re-caulk at the tub line if it shows any cracking, and clean with a neutral-pH tile cleaner. No sealing needed. The tile itself will outlast the house. Your only real failure point is the grout, and that is manageable.
Natural Stone (Marble, Travertine, Limestone)
Natural stone in a shower is a different commitment. Marble and travertine are calcium-based, which means the same hard water that leaves spots on glass will slowly etch the stone surface itself. Annual maintenance for natural stone in a Los Angeles bathroom means resealing the stone and grout with a penetrating sealer every 12 months, sometimes every 6 months in a heavily used shower. Your test is simple: sprinkle a few drops of water on the tile. If the water beads, the sealer is working. If it soaks in and darkens the stone, you are overdue.
Cement Tile
Cement tile, often used for decorative shower floors or vanity backsplashes, is beautiful and porous. It requires annual sealing, no exceptions. Unsealed cement tile absorbs water, shampoo, and minerals, and it will stain permanently. In our Los Angeles projects, we always specify a penetrating sealer at installation and include the first re-seal in our written maintenance note to the homeowner. After that, it is on the calendar every 12 months.
Glass Enclosures
Frameless glass shower enclosures need annual attention to hinges, gaskets, and seals. The rubber sweeps at the bottom of the door crack and develop mold. The pivot screws on hinge posts loosen with every open and close. Once a year, tighten the hinge screws with a hex key, clean the gaskets with a soft brush, and treat the glass with a hydrophobic coating. A quality coating applied to clean glass will shed water for 12 to 18 months, and it makes every other cleaning task much easier.
If you are planning a Bathroom Remodeling in Los Angeles project and want materials that match your maintenance appetite, we will tell you plainly: porcelain and glass are the low-maintenance option, natural stone is the high-maintenance option, and cement tile falls in between. The difference is not quality. It is time.
Los Angeles Hard Water: What It Does and How to Fight It
Los Angeles water is hard. Depending on the season and the specific supply line, hardness typically runs between 8 and 12 grains per gallon, with some neighborhoods west of the 405 seeing even higher concentrations. That mineral load is mostly calcium and magnesium dissolved from the mountains. It is harmless to drink, but it is relentless on bathroom surfaces.
Here is what hard water actually does in a remodeled Los Angeles bathroom over time:
- Glass shower doors develop a hazy film that starts as water spots and mineralizes into a deposit that ordinary glass cleaner will not remove.
- Chrome and brushed nickel fixtures accumulate white scale around spouts, handles, and aerators, eventually pitting the finish if left unchecked.
- Toilet jet holes clog with mineral deposits, causing weak or incomplete flushes that waste water and require multiple flushes.
- Shower valve cartridges seize up after years of mineral buildup, making the handle stiff to turn or causing temperature drift.
- Grout in the shower floor absorbs mineral-laden water, and if the grout is not sealed, the minerals crystallize and slowly break down the grout structure.
The right cleaning products matter more than frequency. Acidic cleaners like vinegar, lemon juice, or generic lime removers will remove mineral scale, but they will also etch natural stone and damage cement-based grout. For glazed porcelain and glass, a citric-acid-based cleaner is fine. For anything with natural stone in the room, use only pH-neutral or stone-safe products and rely on a squeegee after every shower instead of chemical descaling.
A simple daily habit that costs nothing: keep a small squeegee in the shower and wipe down the glass and tile after the last shower of the day. Two minutes of effort removes the water before it evaporates and leaves minerals behind. Homeowners in Los Angeles who do this tell us their glass stays clear for months and their semi-annual cleaning takes half as long.
How to Re-Seal Caulk and Grout Correctly
Caulk and grout maintenance fails more often from bad preparation than from bad products. The prep step most DIYers skip is the reason a new bead of caulk peels off within a few months. Here is the correct sequence, in order.
- Remove all old caulk. Use a plastic scraper or a dedicated caulk removal tool. Do not use a metal blade against tile edges unless you are extremely careful, because porcelain can chip. Pull the old bead out in one continuous strip if possible.
- Clean the joint thoroughly. Isopropyl alcohol on a rag is the right solvent for removing the residue that old caulk leaves behind. Water and soap are not enough. The joint must be completely dry before new caulk goes in.
- Fill the tub or shower pan with water before caulking. This is the step everyone skips. A full tub weighs hundreds of pounds and pulls the tub down from the tile. If you caulk with the tub empty, the joint is stretched the moment someone stands in a full bath, and the new caulk cracks immediately.
- Apply a thin, continuous bead. Cut the caulk tube nozzle at a 45-degree angle, keep the nozzle pressed firmly against the joint, and move steadily. A thin, even bead adheres better than a thick, goopy one.
- Tool the bead with a wet finger or a caulk smoothing tool within a few minutes. This presses the caulk into the joint and removes air pockets. Do not over-tool. One smooth pass is usually enough.
- Let it cure fully. Most silicone caulk needs 24 hours before exposure to water. Check the label. Some fast-cure products allow shower use in 4 hours, but 24 is safer.
For grout re-sealing, the sequence is shorter but just as specific. Clean the grout lines first and let them dry for at least 24 hours. Apply a penetrating grout sealer with a small brush or a foam applicator, working it into the grout lines only, not the tile face. Wipe excess off the tile with a dry cloth within a minute or two. The sealer needs 48 hours to fully cure before the shower is used. In a Los Angeles bathroom with hard water, we recommend sealing shower grout every 12 months.
Years Three, Five, and Beyond: The Long Game
A remodeled bathroom does not quietly stay new. Around year three, certain components reach the end of their first service interval, and if you know what those components are, you can replace them on your schedule instead of during a failure. See Bathroom Remodeling Troubleshooting: Common Problems and How to Fix Them for what to watch.
Year 3: Replace caulk at the tub-to-tile joint and around the shower pan, even if it looks intact. Caulk ages from the back, where it is bonded to the surface, and it can fail without visible cracking. If your bathroom has a frameless glass enclosure, replace the bottom door sweep around this time as well.
Year 5: Expect the shower valve cartridge to need replacement. Symptoms are a stiff handle, temperature that drifts hot or cold without adjusting, or a small leak from the handle area. Cartridges from Kohler and Moen are generally free under the manufacturer’s lifetime warranty, but labor is not. The toilet flapper and fill valve are also due around this age. If the toilet runs for thirty seconds after every flush or makes the classic phantom-flush sound, those are ten-dollar parts and a twenty-minute fix.
Year 7 and beyond: Grout in the shower floor may need professional cleaning or partial re-grouting. The supply lines to the toilet and sink, if they are the older braided stainless type, should be inspected or replaced. And if your bathroom sits above a crawl space or a finished ceiling, this is when a thermal camera inspection can catch slow leaks you cannot see yet.
In Los Angeles, where many homes were built between the 1940s and the 1970s, the original cast iron waste lines under older bathrooms are often at the end of their life. If you remodeled a bathroom and kept the original plumbing stack, a slow drain or a recurring sewer smell around year five is a signal to camera-scope the line. We have seen numerous Los Angeles bathrooms where the remodel itself was flawless, but the 60-year-old drain line below it finally gave out. That is not a workmanship issue. That is infrastructure age.
Keeping a Maintenance Log That Protects Your Warranty
A workmanship warranty covers defects in the work, not damage from neglect. When a claim does come up, and they do come up, the homeowner who can show a maintenance log has a dramatically stronger position. The log is not complicated. A simple spiral notebook or a note on your phone works fine.
Record these four things every time you do maintenance:
- The date
- What you did (re-caulked tub joint, cleaned showerhead, resealed grout, tightened hinge screws)
- What you noticed (small crack in corner grout, water pressure slightly lower than last month, mineral haze on the lower third of the glass)
- What product you used (brand and type, especially for caulk and sealer)
Why this matters: if a shower pan leaks in year two and the homeowner can show they inspected and resealed the grout every 12 months, the failure looks like a workmanship or material issue. If the same leak happens and there is no record of any maintenance, the first assumption is neglect, and that changes the conversation entirely.
Our 365-Day Done Right Promise at Kitchen Remodeling in Los Angeles is built on the same principle we apply to bathroom work: if the work fails because of something we did, we fix it at no charge, in writing, no questions. A maintenance log is how you demonstrate you held up your end of the bargain. It takes two minutes per entry and it proves the claim.
Common Mistakes to Avoid
- Using vinegar or lemon juice on grout or natural stone. Acid dissolves the calcium in grout and marble over time, making the surface more porous and more stained. In Los Angeles, where mineral buildup tempts homeowners to reach for acid more often, this is the most common preventable damage we see.
- Caulking over old caulk. New caulk does not bond to old silicone. The bead looks fine for a month and then peels off in strips. Remove the old material completely every single time.
- Skipping the filled-tub step when caulking. If you caulk a tub-to-tile joint with the tub empty, the first full bath stretches the new bead and cracks it. This is the single most repeated caulk mistake in residential bathrooms.
- Using the wrong sealer on stone. A topical sealer sits on the surface and can actually trap moisture in the stone, causing discoloration. Penetrating sealers are the correct choice for shower stone and grout.
- Ignoring a slow drain because the shower still works. A slow shower drain in an older Los Angeles home is often the first sign of a broken cast iron pipe under the slab. By the time it becomes a full clog, the repair bill is significantly higher.
- Treating all cleaners as interchangeable. A scouring powder that is safe on porcelain will scratch a fiberglass tub or an acrylic shower base. Read the label. If the label does not list your surface, test it in an inconspicuous spot first.
- Letting a leaky showerhead go because it is “just a drip.” A showerhead that drips after the water is off means the valve cartridge is failing, and every month of dripping is a month of water and mineral deposit building inside the valve body. The fix gets more expensive the longer you wait.
When to Call a Professional
Some maintenance tasks are homeowner work. Others should not be attempted without the right tools and experience. Call a professional when you see water staining on the ceiling below the bathroom, when a shower valve is leaking from inside the wall, when grout is cracking across a large area in a consistent pattern (which suggests a moisture or movement problem, not ordinary wear), when you smell mildew that persists after cleaning, or when any caulk failure has gone more than a season unaddressed. Penhallow Remodeling offers free estimates in Los Angeles. Call (936) 259-2607 and we will come out, look at the issue, and give you a written number before any work starts.
Frequently Asked Questions
Caulk at the tub-to-tile joint should be replaced every 3 to 5 years, or sooner if it shows cracking, peeling, or mold growth that does not respond to cleaning. In a Los Angeles bathroom with daily use, expect the 3-year end of that range. Call (936) 259-2607 if you want us to handle the re-caulk, and we will give you a written price before we start.
Hard water stains on glass in Los Angeles require a dedicated glass cleaner with a mild acid base, or a paste of citric acid and water applied for 15 minutes and scrubbed with a soft cloth. For heavy mineralized buildup that has been left for months, a professional restoration with a razor scraper and a polishing compound is usually the faster and safer route.
Yes, shower grout should be sealed every 12 months with a penetrating sealer. Sealing reduces water absorption and keeps mineral-laden Los Angeles water from breaking down the grout structure. The water-bead test tells you when it is time: if water soaks in instead of beading, re-seal.
A well-built bathroom remodel lasts 20 to 30 years for tile, fixtures, and cabinetry, with maintenance along the way. The caulk joints, shower valve cartridge, toilet internals, and glass enclosure hardware have shorter service lives and will need attention every 3 to 7 years. The finishing materials you choose, like natural stone versus porcelain, also affect the maintenance interval.
The best mold prevention is removing water quickly, which means running the exhaust fan during every shower and for 20 minutes after, using a squeegee on glass and tile after the last shower, and re-caulking at the first sign of joint failure. In Los Angeles, where humidity rises in coastal neighborhoods, a properly sized exhaust fan matters more than most homeowners realize.
No, a workmanship warranty covers defects in the original work, not routine maintenance. If caulk fails because the original installation was bad, it is a warranty issue. If it fails after 4 years of normal use, it is a maintenance item. At Penhallow Remodeling, the 365-Day Done Right Promise covers early failures in writing, and we will tell you plainly which category your issue falls into.
The Bottom Line
A remodeled bathroom is an asset with a maintenance calendar, not a finished product. The schedule is simple: inspect everything in the first 30 days, clean and check twice a year, reseal and re-caulk on a 1-to-5-year rhythm, and keep a maintenance log that protects your warranty claim if something fails. In Los Angeles, hard water and older housing stock make the schedule slightly more demanding, but the payoff is a bathroom that remains watertight and good-looking for two decades. For more guides & resources, visit our blog, or if you ever want a second set of eyes on any of this, we are here.
Written by Trevor Nash, Owner at Penhallow Remodeling, serving Los Angeles since 2004.